A beginner’s guide to the Setup and Installation of a Norwegian Subsea MRU
This article outlines how to setup and configure you Motion Reference Units (MRUs) in a few simple steps and other usefull information getting started.
Motion Reference Units (MRUs) are high-tech devices capable of measuring movement in all six degrees of freedom – roll, pitch, yaw, surge, sway, and heave. They are vital components in monitoring movement for ships, helidecks, offshore gangways, cranks and winches, sonars, and more. Without the use of accurate MRUs to provide data for movement compensation, much of this technology would simply not function (or at least, not safely!).
Norwegian Subsea’s MRUs – which can be used in marine environments, on land, or subsea – combine advanced MEMS sensor technology – with a proprietary sensor fusion algorithm to give accurate and reliable motion, velocity, and acceleration measurements for use in control and monitoring applications.
In this article, we’re going to cover the most important things you need to know in order to set up, configure, and install a Norwegian Subsea MRU.
Note: for the purposes of this article, we’re going to assume your MRU will be installed on a ship of some variety, though the majority of the information here is valid whatever your use case.
Configuration and Setup
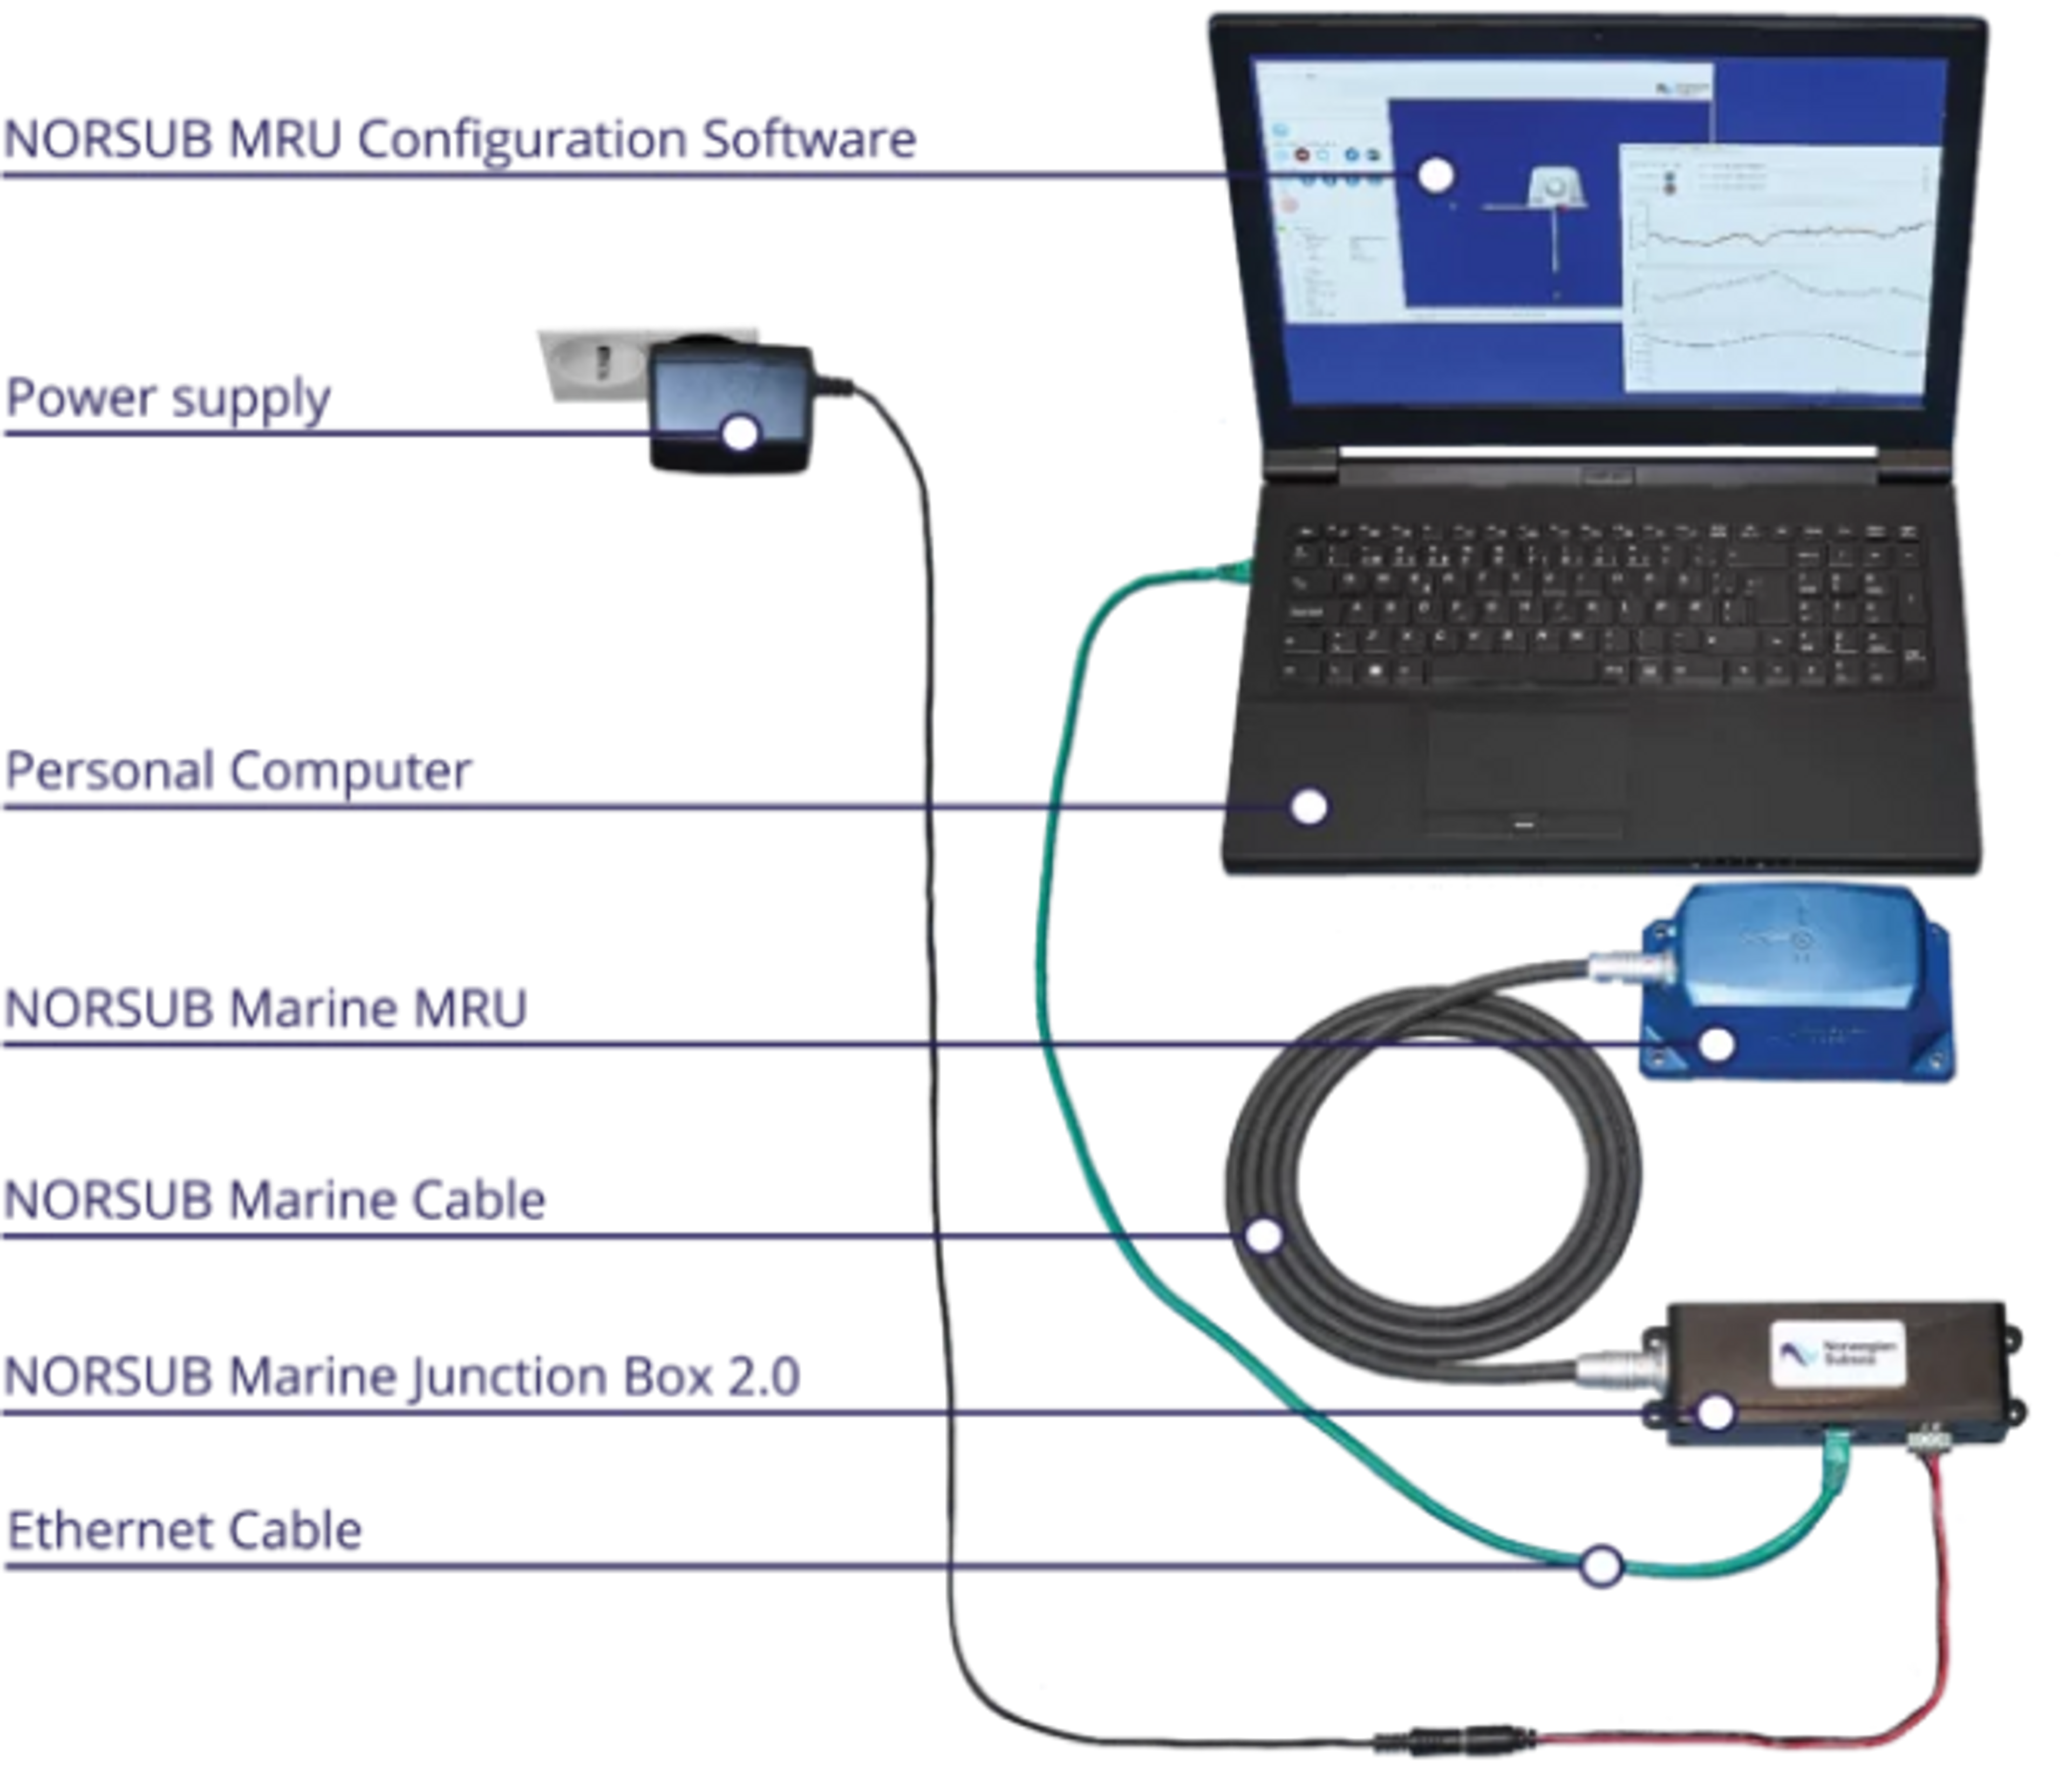
Norwegian Subsea MRUs can be delivered along with all the necessary cables, a junction box, and instructions on how to download our configuration software.
You can choose to configure your MRU either before or after it’s installed on your vessel. In our experience, most of our customers (particularly new customers) prefer to complete the configuration beforehand, which gives them a little more freedom to play around with the software and familiarise themselves with the various options and parameters available to them.
To configure your MRU, you’ll need to consider your data requirements (ports, protocols, measurement frequency) and the location and orientation of the MRU on your vessel.
Ports
Norwegian Subsea MRUs provide both ease of use and maximum flexibility, depending on your requirements.
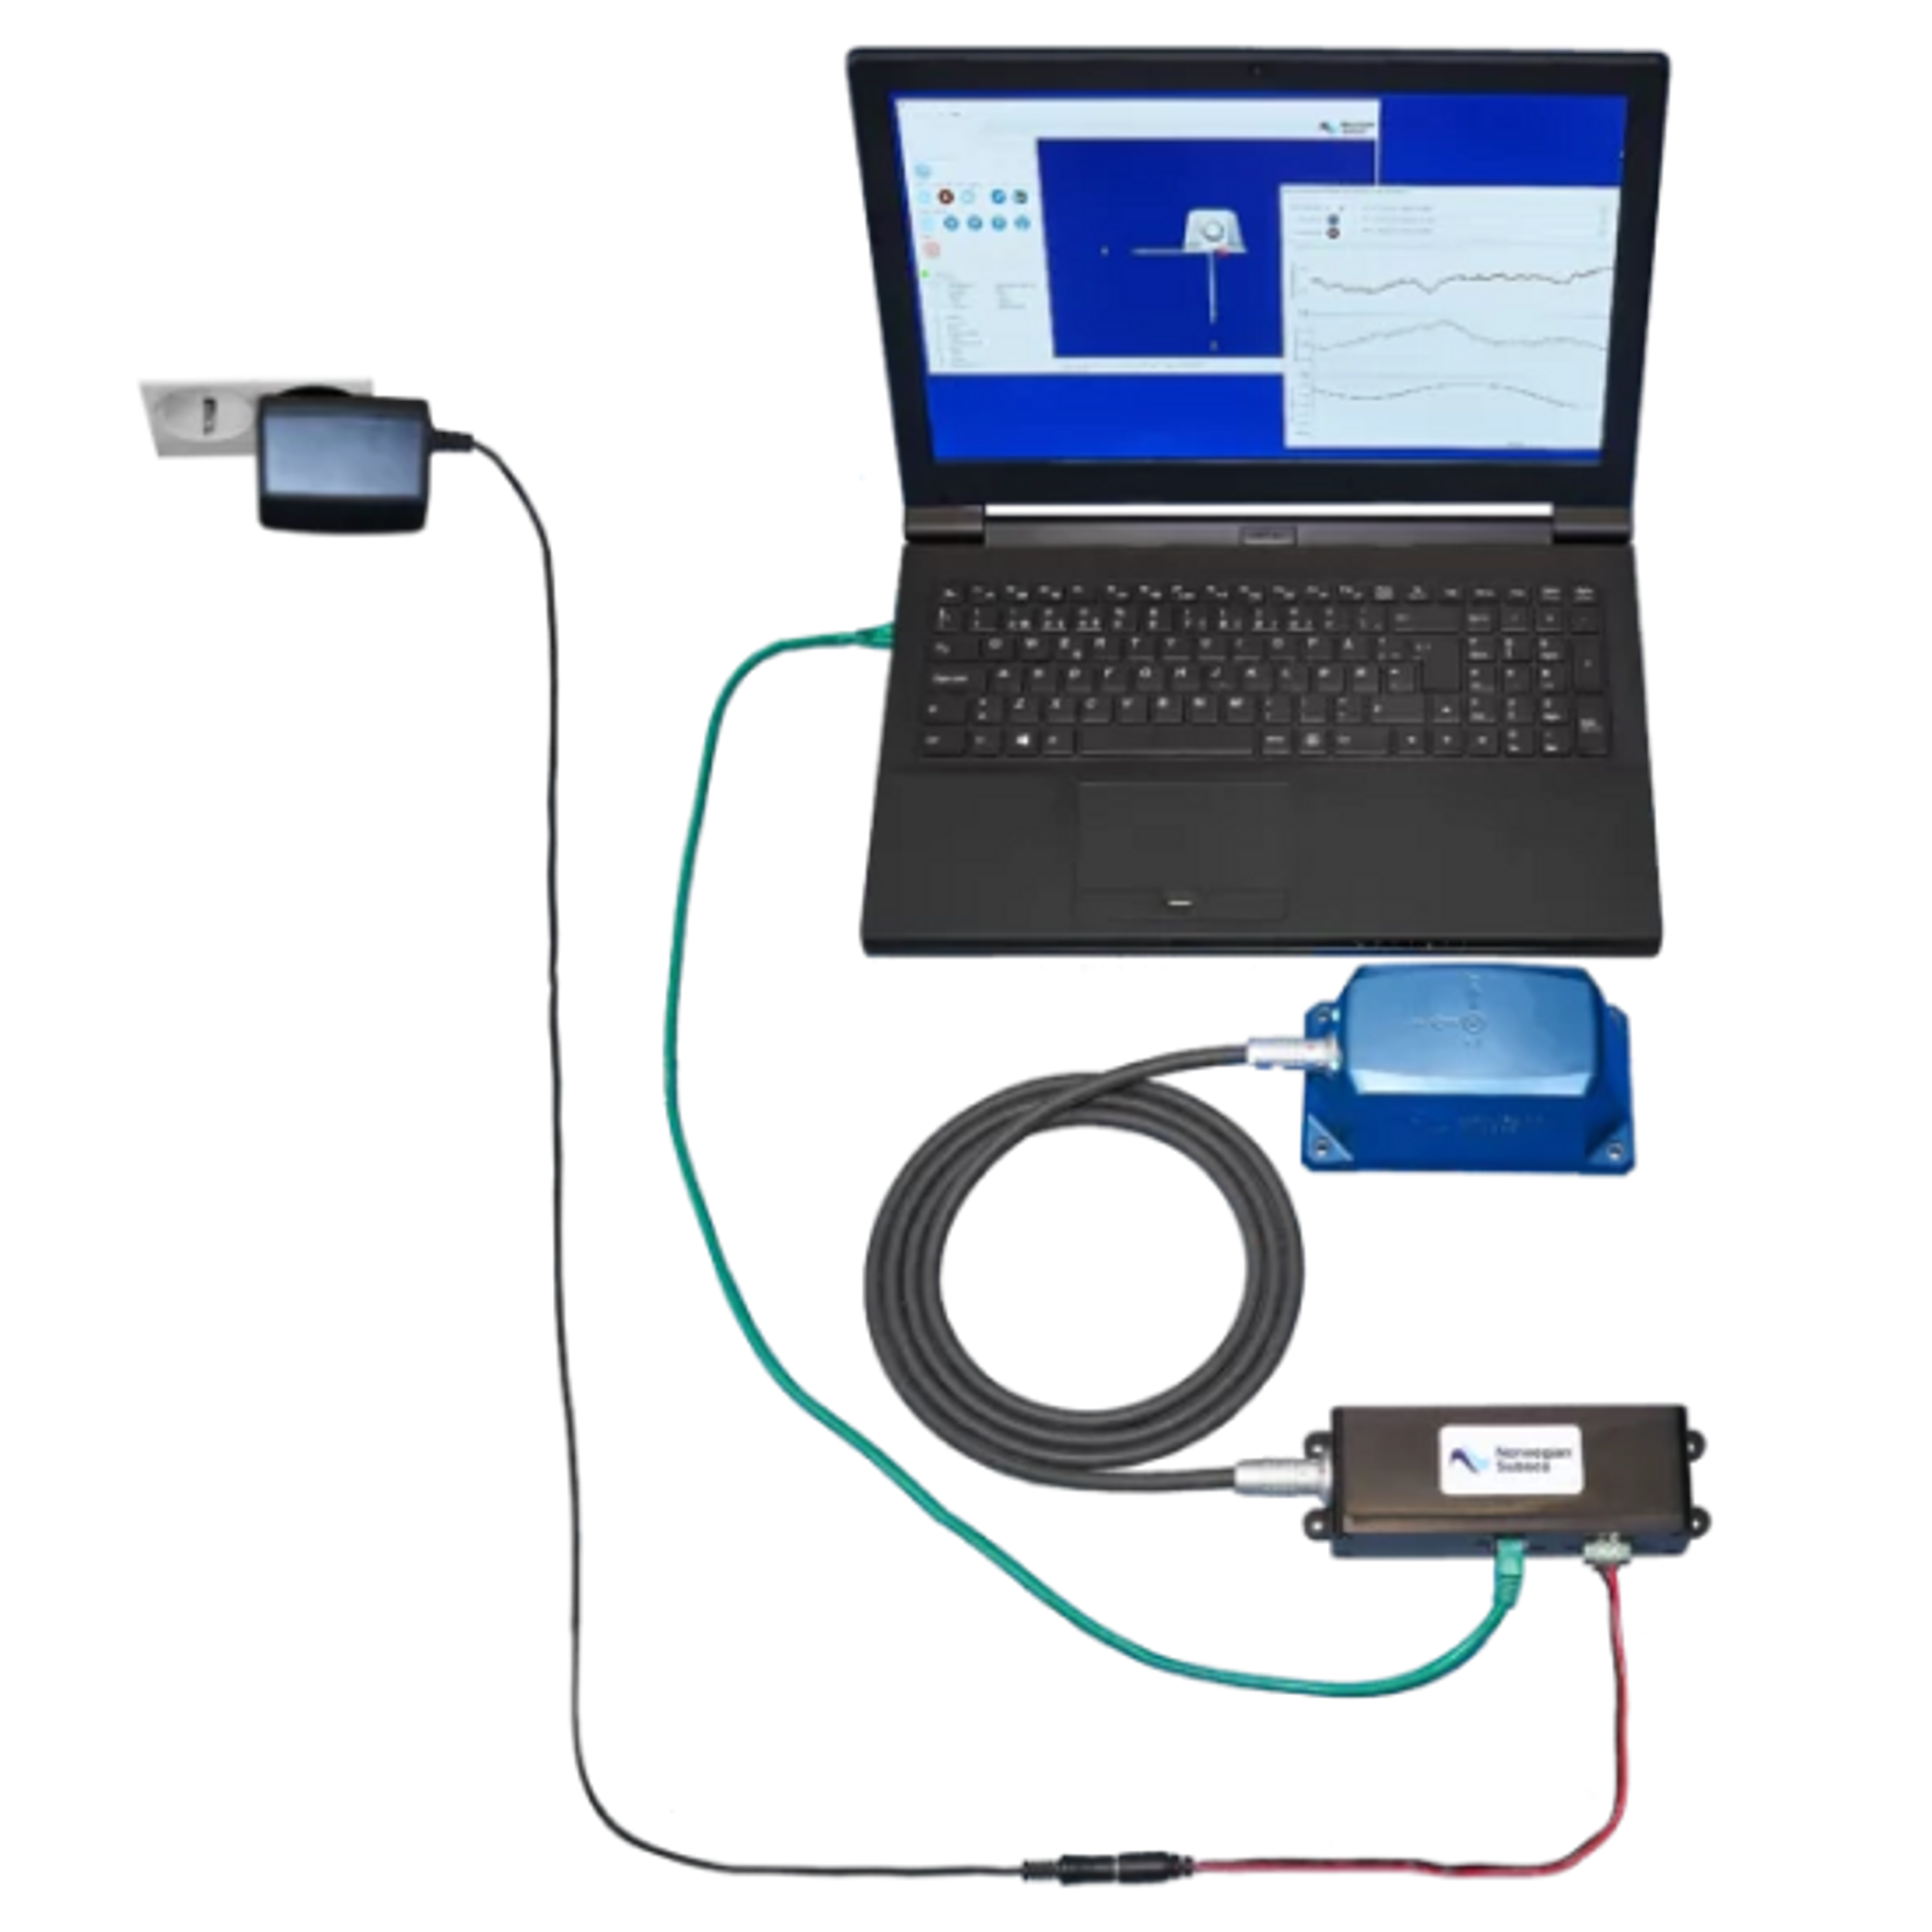
The simplest option is to make use of our standard junction box, which offers plug and play functionality and requires little to no prior knowledge to set up. Our junction box comes with ethernet, RS-232 and RS-485 ports.
Alternatively, you can make use of our pigtail cable, which allows you to use your MRU with whichever connection type you require.
Note: our junction boxes are fully dust and waterproof for use in marine vessels, and we offer cables at 2, 5, and 10 metres in length (you can also request custom lengths if you need them – we’d be happy to help).
Protocols
Norwegian Subsea MRUs are able to output data in all industry standards protocols, including NMEA, ASCII, Binary TSS1, MDL, Atlas, Simrad EM 3000, NORSUB, and more. All you have to do is select the data protocol that’s appropriate for your use case in the configuration software.
If you have specific data requirements that aren’t met by any of the standard protocols, you can also configure a custom protocol within the configuration software.
Protocols
The final data consideration is the frequency at which you would like your MRU to take measurements. For most use cases, motion data will be recorded very frequently – motion compensation for an offshore gangway, for example – but there are some situations where less frequent measurements may be enough.
You have full control of measurement frequency, allowing you to adjust this parameter depending on your needs.
Orientation and Location
In order to ensure your MRU returns highly accurate data about the movement of your vessel, you need to tell it how and where it’s going to be installed. This allows the MRU to automatically account for its position and orientation with respect to your vessel and your point of interest (the exact point you want to take measurements from), meaning it can be mounted almost anywhere on your vessel and in any orientation and still return accurate motion data.
Inputting the orientation and position of your MRU is simple and can be done entirely within the configuration software that comes with your unit.
For tips on the best location within your vessel to place your MRU, see the ‘installation’ section below.
Installation - mounting location and orientation
Your MRU can be mounted almost anywhere on your vessel and in any orientation, but there are some guidelines you can follow to ensure the absolute highest accuracy of measurements from your device:
- Position your MRU as close to the point which you’d like to measure as possible
- Position your MRU as close to the centre of gravity as possible
- Avoid mounting your MRU on machinery or in other areas with high levels of vibration, as this can negatively impact accuracy
- Avoid placing your MRU high up in your vessel, as this will lead to large horizontal accelerations, which can have a small negative impact on accuracy.
While we do recommend you position your MRU as close to the point of measurement as possible, if this can’t be achieved (perhaps because this area isn’t easy to access), you can also configure a remote measurement point.
Remote measurement points allow you to take measurements from almost any point on your vessel, but there may be a very small degradation in accuracy by using this method due.
Re-calibration and effect on accuracy
To guarantee the performance of your MRU in line with the specified pitch and roll measurement accuracy of 0.01/0.02/0.05 degrees, we recommend you re-calibrate it every 4 years. The specified heave accuracy of 5 cm / 5% is maintained automatically without re-calibration.
Note: your MRU will still perform very well after 4 years without calibration for many use cases.
Contact us
For any inquiries or assistance, please feel free to contact us. Our dedicated team is ready to provide prompt and helpful support. You can reach us through the provided contact form, email, or phone number.
We look forward to hearing from you!