A beginner’s guide to the Setup and Installation of a Norwegian Subsea MRU
This article outlines how to setup and configure your MRUs in a few simple steps, and provides other useful information for getting started.
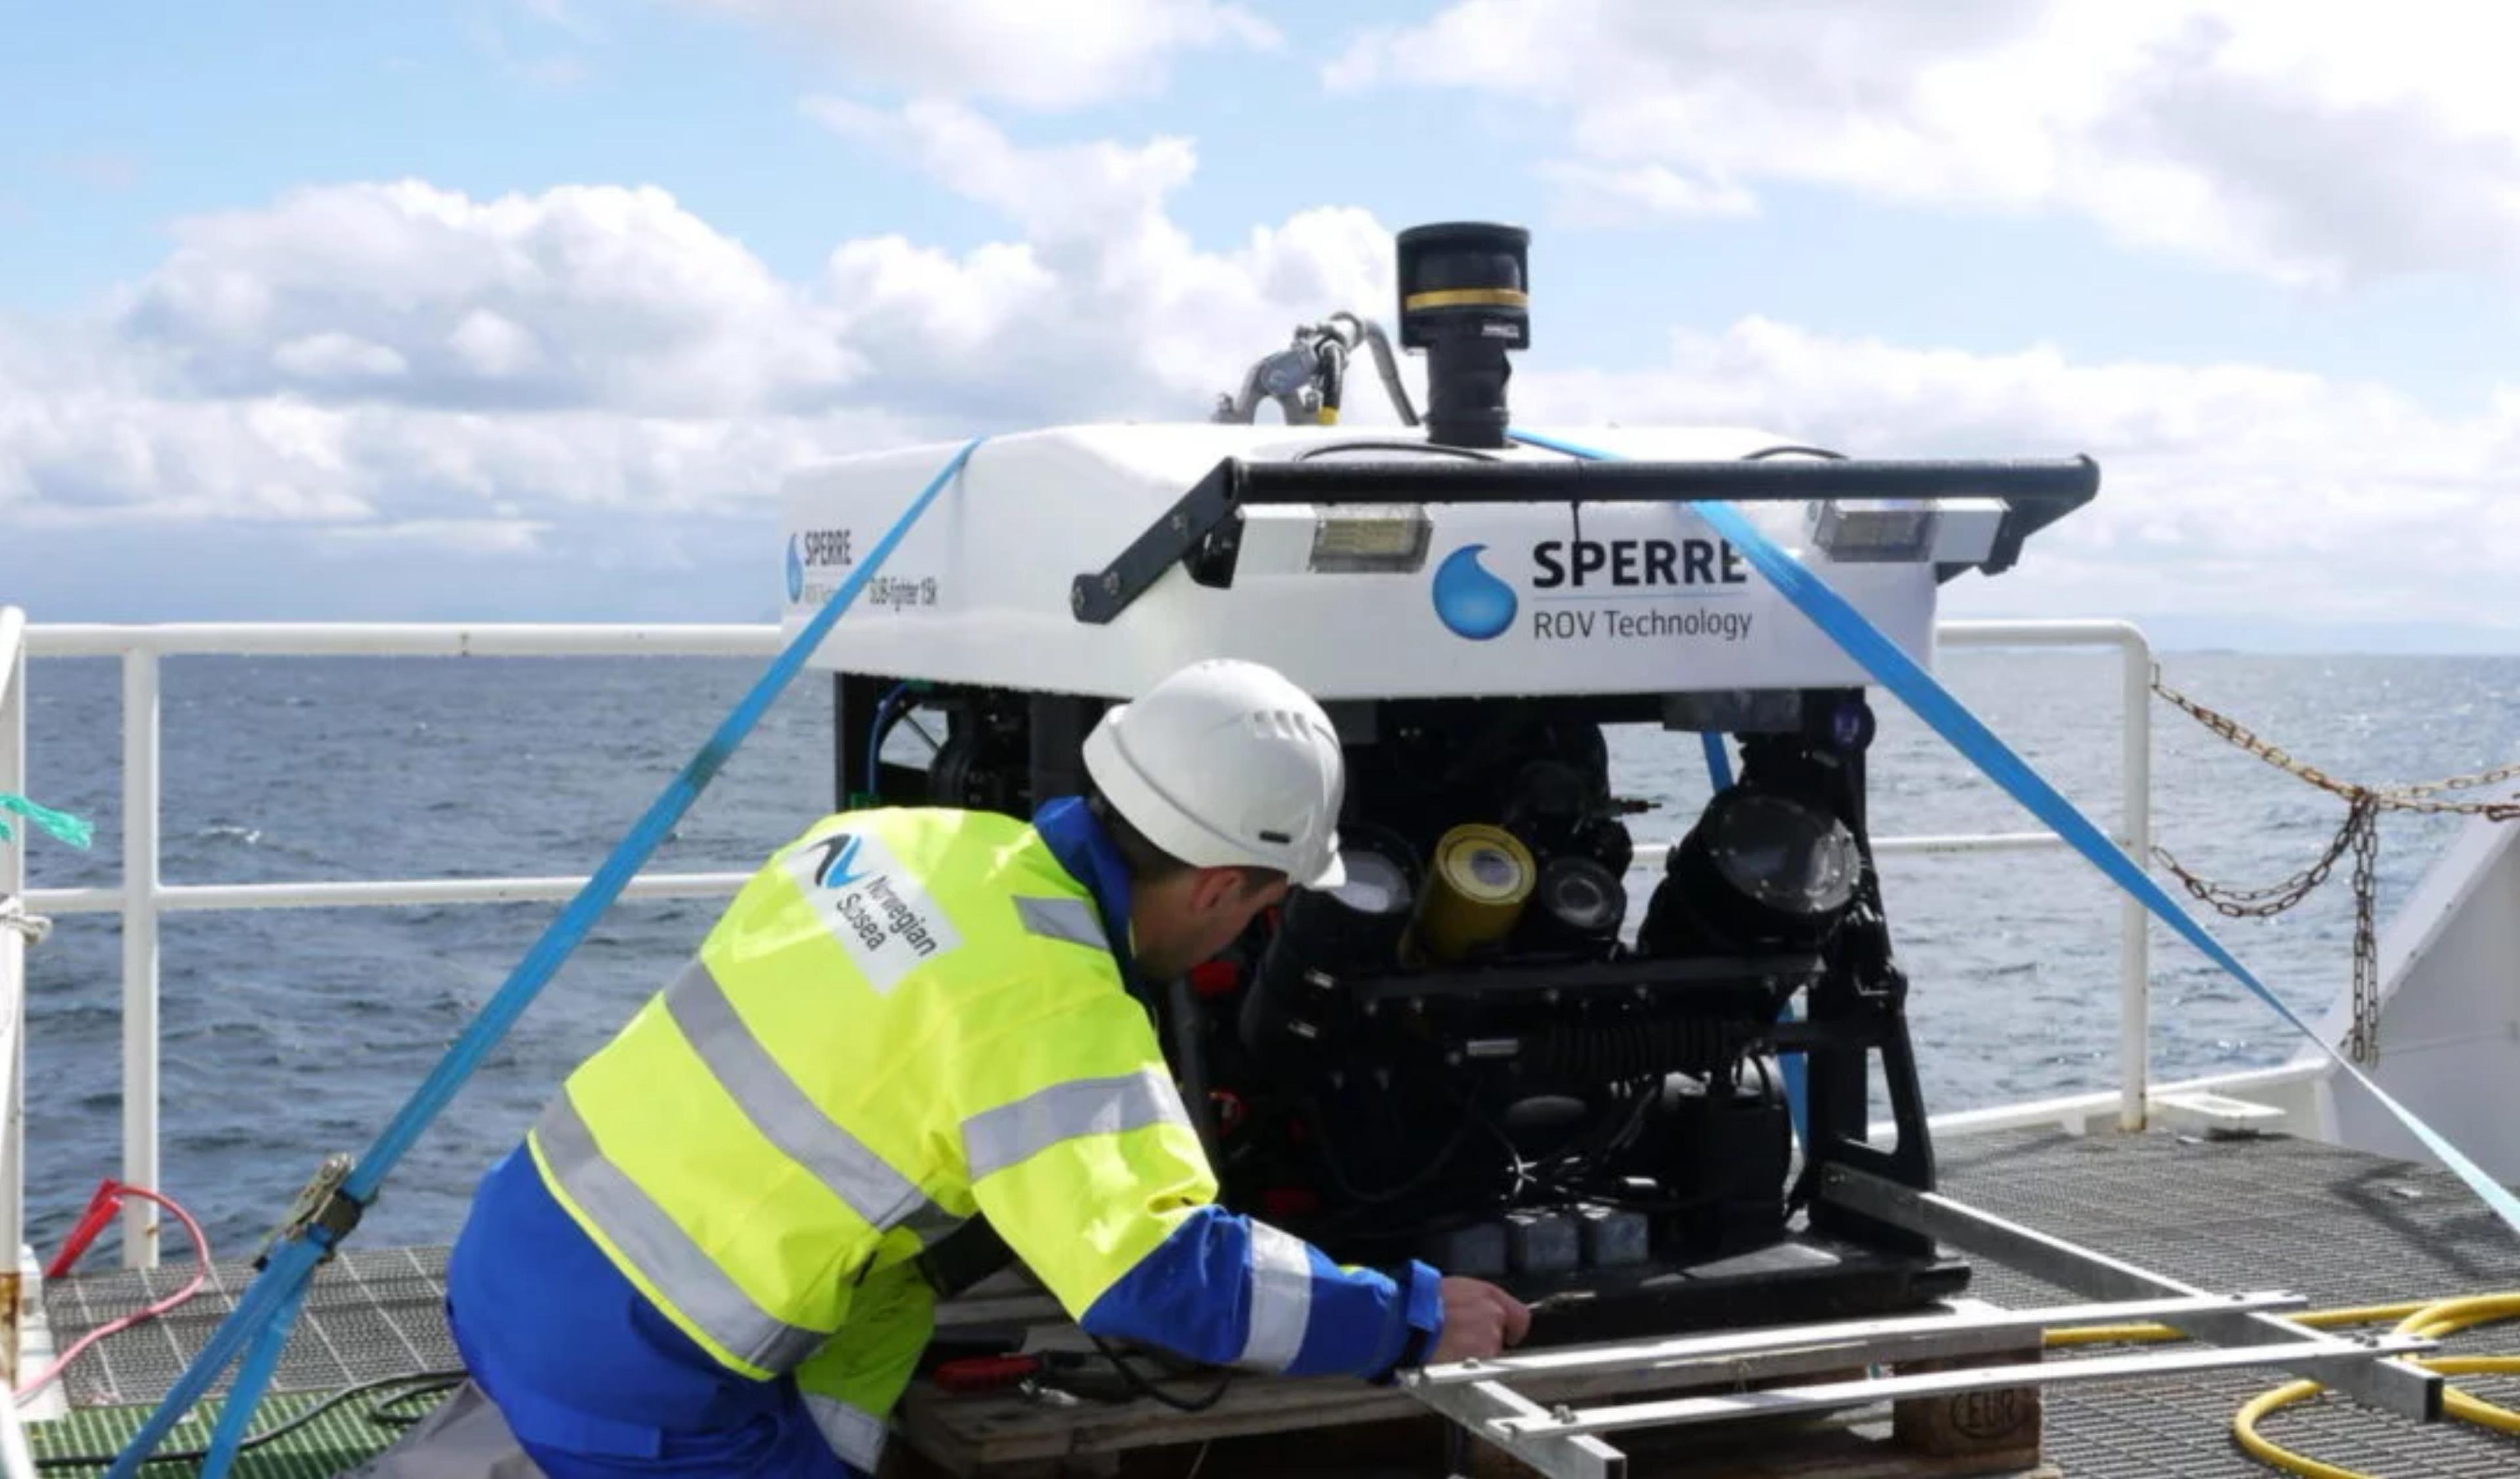
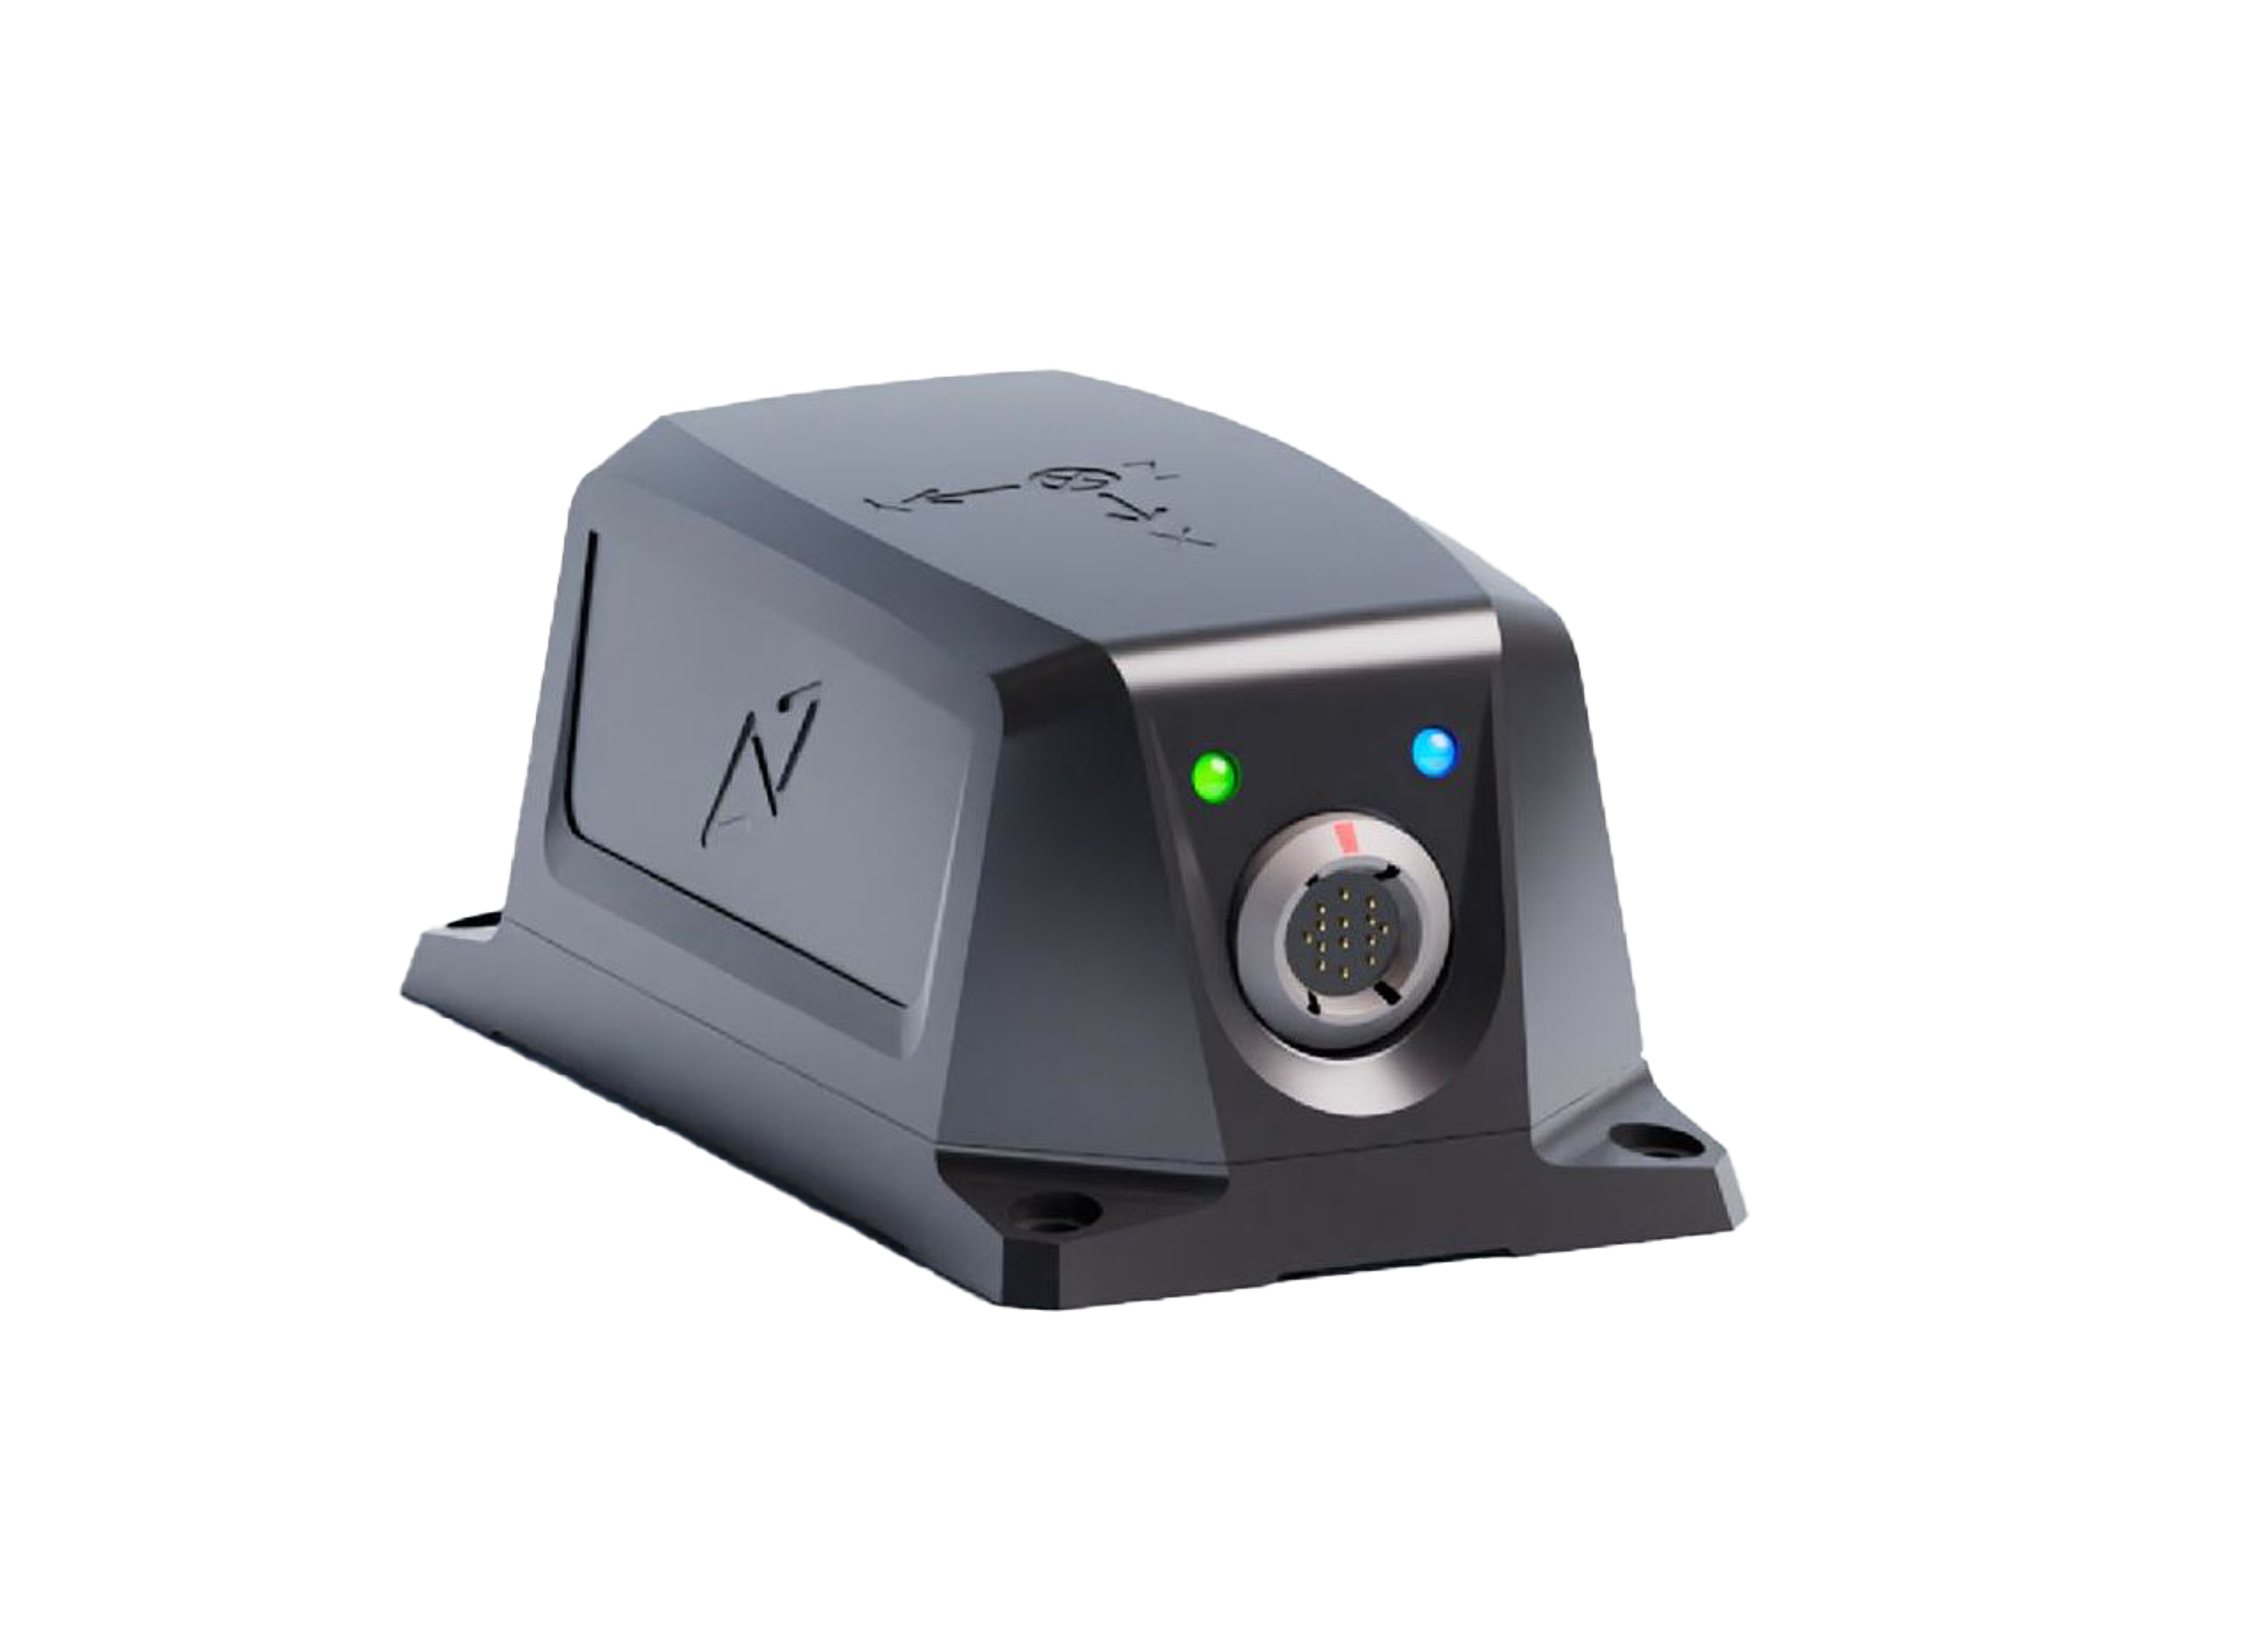
MRUs are high-tech devices capable of measuring movement in all six degrees of freedom – roll, pitch, yaw, surge, sway, and heave. They are vital components in monitoring movement for ships, helidecks, offshore gangways, cranks and winches, sonars, and more. Without the use of accurate MRUs to provide data for movement compensation, much of this technology would simply not function (or at least, not safely!).
Norwegian Subsea’s MRUs – which can be used in marine environments, on land, or subsea – combine advanced MEMS sensor technology – with a proprietary sensor fusion algorithm to give accurate and reliable motion, velocity, and acceleration measurements for use in control and monitoring applications.
In this article, we’re going to cover the most important things you need to know in order to set up, configure, and install a Norwegian Subsea MRU.
Note: for the purposes of this article, we’re going to assume your MRU will be installed on a ship of some variety, though the majority of the information here is valid whatever your use case.
Configuration and Setup
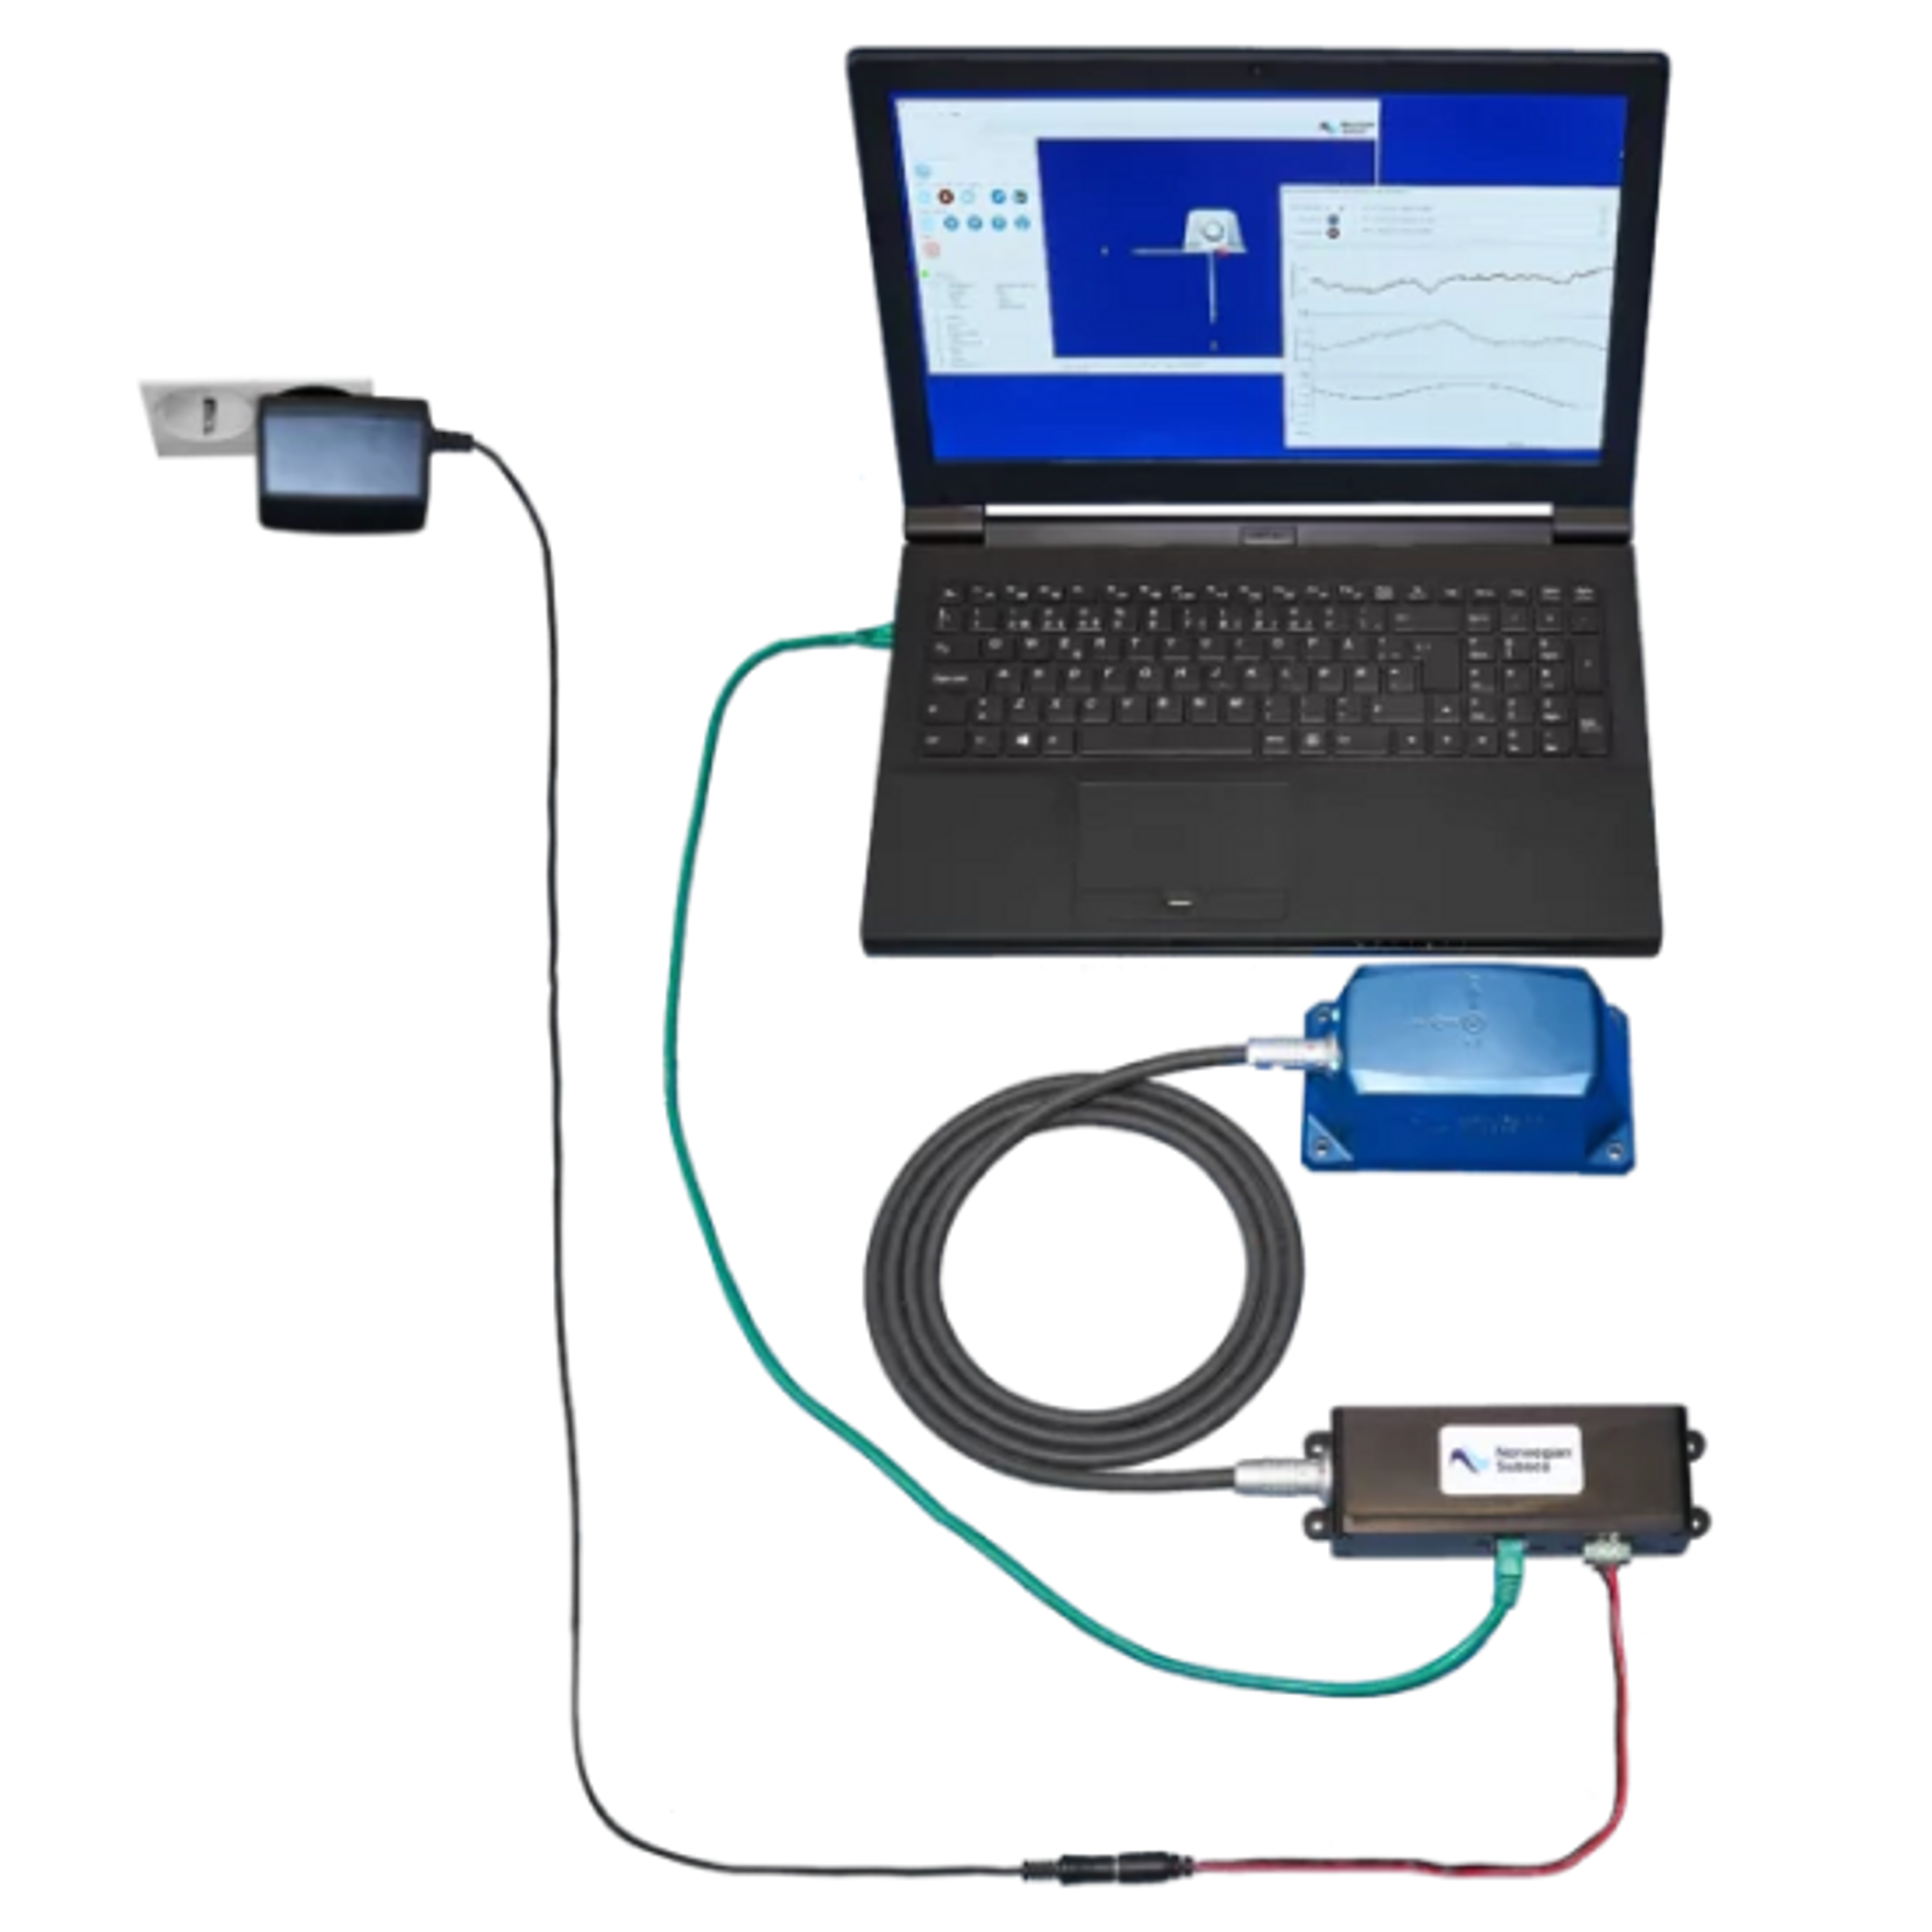
Norwegian Subsea MRUs can be delivered along with all the necessary cables, a junction box, and instructions on how to download our configuration software.
You can choose to configure your MRU either before or after it’s installed on your vessel. In our experience, most of our customers (particularly new customers) prefer to complete the configuration beforehand, which gives them a little more freedom to play around with the software and familiarise themselves with the various options and parameters available to them.
To configure your MRU, you’ll need to consider your data requirements (ports, protocols, measurement frequency) and the location and orientation of the MRU on your vessel.

Ports
Norwegian Subsea MRUs provide both ease of use and maximum flexibility, depending on your requirements.
The simplest option is to make use of our standard junction box, which offers plug and play functionality and requires little to no prior knowledge to set up. Our junction box comes with ethernet, RS-232 and RS-485 ports.
Alternatively, you can make use of our pigtail cable, which allows you to use your MRU with whichever connection type you require.
Note: our junction boxes are fully dust and waterproof for use in marine vessels, and we offer cables at 2, 5, and 10 metres in length (you can also request custom lengths if you need them – we’d be happy to help).
Protocols
Norwegian Subsea MRUs are able to output data in all industry standards protocols, including NMEA, ASCII, Binary TSS1, MDL, Atlas, Simrad EM 3000, NORSUB, and more. All you have to do is select the data protocol that’s appropriate for your use case in the configuration software.
If you have specific data requirements that aren’t met by any of the standard protocols, you can also configure a custom protocol within the configuration software.